

Unlock juicy, crispy skin with this Spiced Orange Rosemary Glazed Turkey Thighs recipe. Perfect for holidays or any day with easy steps & tips.
Why You’ll Love This Recipe
- Incredible Flavor: Aromatic rosemary, bright orange, and savory spices create a memorable glaze that infuses every bite.
- Juicy & Tender Meat: Dry brining and careful roasting ensure incredibly moist meat, even for thighs.
- Crispy Golden Skin: Proper drying and high initial heat guarantee perfectly crisp, delicious skin.
- Impressive Presentation: This recipe delivers a visually stunning centerpiece for any holiday table.
- Foolproof Method: Clear instructions and expert tips make roasting a turkey accessible, even for beginners.
Ingredients Needed
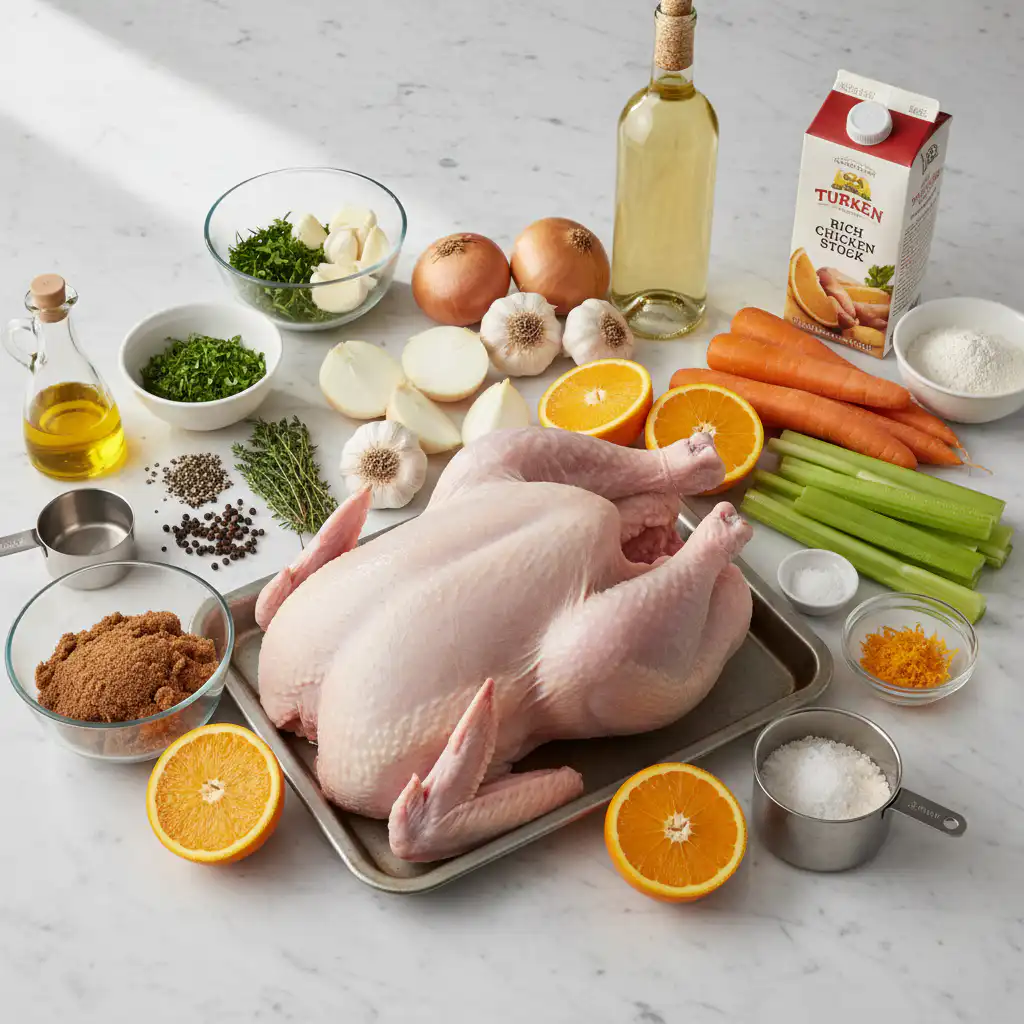
- 1 12 – 15 pound Farmer Focus Heirloom turkey, thawed completely
- 6 tablespoons sea salt
- ¼ cup orange zest, (from about 3 oranges (reserve oranges))
- 3 tablespoons brown sugar
- 3 tablespoons minced fresh rosemary leaves
- 2 tablespoons fresh thyme leaves
- 2 teaspoon black pepper
- 2 tablespoons extra virgin olive oil
- 2 yellow onions, (peeled and quartered)
- 2 heads garlic, (root end sliced off)
- 2 carrots, (scrubbed and cut into 4-inch segments)
- 2 celery ribs, (cut into 4-inch segments)
- Reserved oranges, (quartered)
- 2 cups white wine
- 6 tablespoons all-purpose flour
- 4 cups rich turkey or chicken stock
Ingredient Notes & Substitutions
Turkey: A Farmer Focus Heirloom turkey is recommended for quality, but any 12-15 lb turkey will work. Ensure it’s fully thawed (about 24 hours per 4-5 lbs in the refrigerator).
Herbs: Fresh rosemary and thyme are key for the signature flavor. If fresh aren’t available, use 1 tablespoon dried rosemary and 2 teaspoons dried thyme.
Citrus: Orange zest is crucial for the glaze. If you don’t have enough oranges for zest, you can use lemon zest, but the flavor profile will shift.
Wine: Dry white wine is ideal for deglazing. Sauvignon Blanc or Pinot Grigio work well. A splash of brandy can add depth.
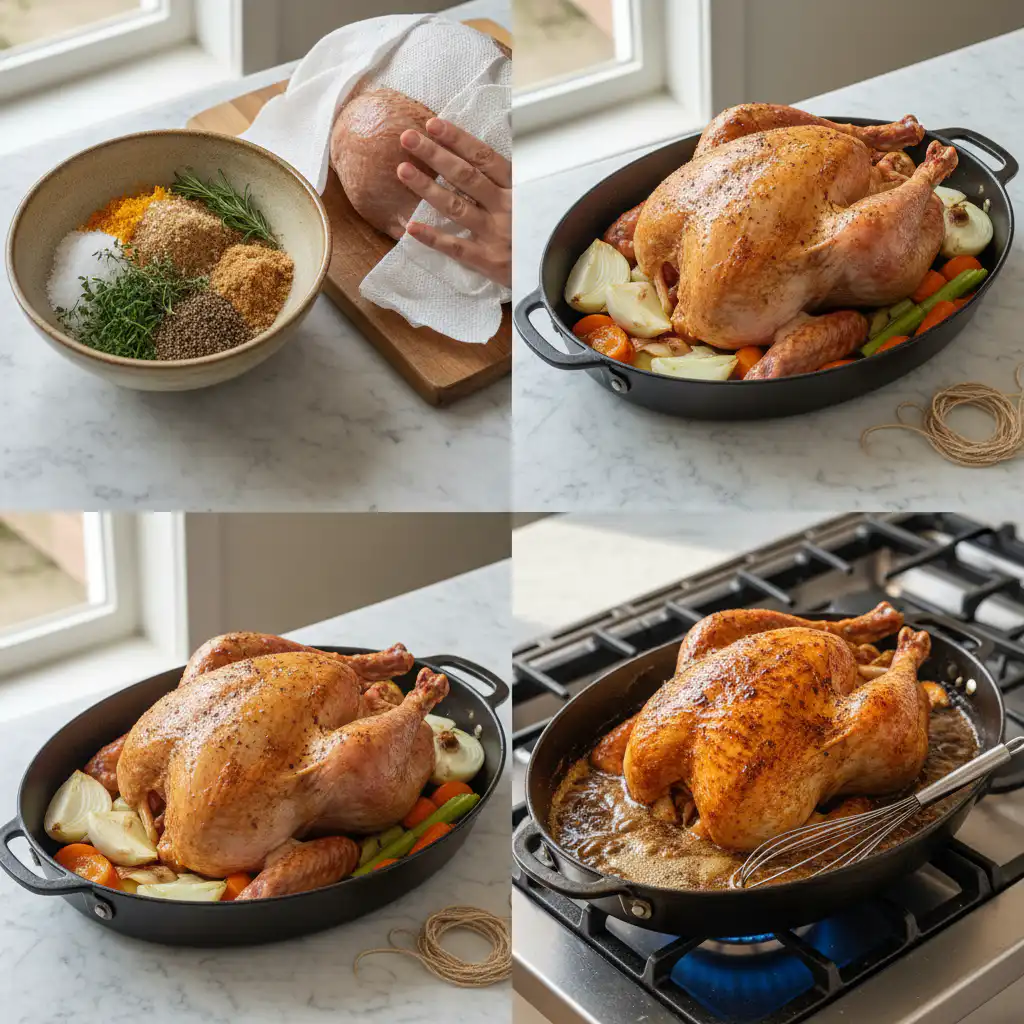
How to Make Spiced Orange Rosemary Glazed Turkey Thighs
24 Hours Ahead: Prepare for Flavor
Remove the turkey from its packaging and place it on a rack set inside a roasting pan. Discard or reserve the neck and giblets for stock/gravy.
Crucial Step: Pat the entire turkey thoroughly dry, inside and out, with paper towels. This is essential for achieving crispy skin.
Dry Rub: In a small bowl, combine the sea salt, orange zest, brown sugar, minced rosemary, thyme leaves, and black pepper. Rub about 1/4 of the mixture all over the back of the turkey. Flip and rub another 1/4 into the cavity. Press the remaining rub all over the sides, breast, and thighs. Scoop up any fallen rub and reapply.
Place the seasoned turkey, uncovered, in the refrigerator for at least 12, and preferably 24 hours. This dry brine allows the salt to penetrate and tenderize the meat while drying out the skin.
Day Of Cooking: Roasting and Gravy
Remove the turkey from the refrigerator and let it sit on the counter for 1 hour to come to room temperature.
Preheat Oven: Set your oven to 450°F (230°C) and position a baking rack in the lower third of the oven.
Prepare Roasting Pan: While the turkey rests, remove the rack from the roasting pan. Set the turkey on a rimmed baking sheet. Important: Thoroughly clean and dry the roasting pan. Overnight drippings can make gravy too salty.
Aromatics & Trussing: Add the quartered onion, halved garlic heads, carrot segments, and celery segments to the clean, dry roasting pan. Place the turkey back into the pan, breast-side up. Stuff the cavity with a mix of onions and quartered oranges. Add remaining onion quarters and orange wedges to the pan bottom. Truss the turkey by tying the wings close to the body with cotton twine and tying the drumsticks together. Brush the entire turkey with olive oil. Pour the white wine into the bottom of the roasting pan.
Initial Roast & Reduce Heat: Roast at 450°F (230°C) for 20-40 minutes, until the skin is nicely golden brown. Reduce the oven temperature to 350°F (175°C).
Continue Roasting: Cook until the internal temperature reaches 165°F (74°C) when measured in the thickest part of the thigh (avoiding the bone) and the thickest part of the breast. This typically takes 3-4 hours total. Check the temperature every 30 minutes after the first 2 hours. If the breast or wings brown too quickly, loosely tent them with aluminum foil. Do not baste; the dry skin will crisp beautifully on its own.
Resting is Key: Once the target temperature is reached, transfer the turkey to a carving board, tent loosely with foil, and let it rest for 30 minutes. This allows the juices to redistribute, ensuring moist meat.
Make the Gravy: While the turkey rests, place the roasting pan over 1-2 stovetop burners on medium heat. Use a slotted spoon to remove the aromatics and vegetables. Whisk the flour into the pan drippings until smooth. Cook for a minute, then slowly whisk in the turkey or chicken stock, adding it in stages to create a smooth, thick gravy. Continue cooking and whisking until the gravy reaches your desired consistency. Adjust heat as needed. Transfer to a smaller saucepan to keep warm over low heat.
Serve: Remove the trussing twine, carve the turkey, and serve immediately with the warm gravy.
Understanding Dry Brining: The Secret to Perfect Turkey
The Science of Salt: Dry brining uses salt to draw moisture out of the turkey’s skin, promoting crispiness. Simultaneously, the salt penetrates the meat, breaking down muscle proteins. This process allows the meat to retain more moisture during cooking, resulting in a juicier, more tender bird.
Flavor Infusion: Beyond moisture control, the salt and seasonings in the dry brine deeply season the turkey from within, ensuring flavor in every bite, not just on the surface.
How Long to Brine: For this recipe, a minimum of 12 hours is recommended, with 24 hours yielding the best results for flavor and texture. Don’t exceed 48 hours, as the meat can become too dense.
Pro Tips & Troubleshooting
Expert Tips for Success
Pat It Dry, Really Dry: The single most important step for crispy skin is removing as much surface moisture as possible before seasoning.
Room Temperature Bird: Allowing the turkey to sit at room temperature for an hour before roasting helps it cook more evenly.
Don’t Peek Too Often: Resist the urge to constantly open the oven door, as this releases heat and prolongs cooking time.
Use a Thermometer: An instant-read thermometer is your best friend for ensuring the turkey is cooked safely and perfectly. Measure in multiple places.
Gravy Savvy: Always clean the roasting pan before making gravy. The initial accumulated juices from dry brining are often too concentrated and salty.
Resting is Non-Negotiable: Even a 15-20 minute rest makes a difference, but 30 minutes is ideal for maximum juiciness.
Common Mistakes to Avoid
Incomplete Thawing: A partially frozen turkey will cook unevenly, leading to both undercooked and overcooked sections.
Skipping the Drying Step: Wet skin steams rather than roasts, resulting in a pale, flabby, and unappetizing texture.
Over-Basting: While basting seems like a good idea, it adds moisture to the skin, hindering crisping. The dry brine and olive oil coating are sufficient.
Carving Too Soon: Cutting into the turkey immediately after removing it from the oven will cause all those delicious juices to run out onto the cutting board.
Salting Gravy Prematurely: Taste the gravy after the stock is added and before seasoning. The turkey drippings already contain salt from the brine.
Serving & Storage
Serving Ideas
Classic Pairings: Serve slices of this succulent turkey with traditional Thanksgiving sides like creamy mashed potatoes, savory stuffing, tart cranberry sauce, and steamed green beans or Brussels sprouts.
Garnish: Adorn the platter with fresh rosemary sprigs and thin slices of fresh orange for a beautiful presentation.
Beverage Pairings: A crisp white wine like Sauvignon Blanc or a light-bodied red like Pinot Noir complements the citrus and herb notes. For non-alcoholic options, sparkling cider or a cranberry spritzer are excellent choices.
Storage and Make-Ahead
Make-Ahead Gravy: The gravy can be made up to 2 days in advance. Cool completely, store in an airtight container in the refrigerator, and gently reheat on the stovetop before serving, whisking occasionally.
Storing Leftovers: Once cooled, store leftover turkey and gravy separately in airtight containers in the refrigerator for up to 3-4 days.
Reheating Turkey: Reheat slices gently in the oven (low temperature, covered with foil) or in a skillet with a little broth to prevent drying out.
Frequently Asked Questions (FAQ)
Why dry brine a turkey?
Dry brining seasons the turkey deeply, draws out moisture to help crisp the skin, and denatures proteins for a more tender, juicy result. The salt penetrates the meat, breaking down muscle proteins and allowing it to retain more moisture during cooking.
What is the target internal temperature for a fully cooked turkey?
The USDA recommends a safe internal temperature of 165°F (74°C) for poultry. This should be measured in the thickest part of the thigh, without touching the bone, and also in the thickest part of the breast.
How do I prevent the turkey breast from drying out while the thighs cook?
Ensure even cooking by starting with a higher heat (450°F) to brown the skin and then reducing the temperature to 350°F. If parts of the turkey brown too quickly, loosely tent them with aluminum foil. Resting the turkey is also crucial for redistributing juices.
Can I make the gravy ahead of time?
Yes, you can make the gravy ahead of time. After preparing it according to the recipe, let it cool completely and store it in an airtight container in the refrigerator. Reheat gently on the stovetop before serving, whisking occasionally.
How long should I dry brine a turkey?
For this recipe, a minimum of 12 hours is recommended, with 24 hours yielding the best results. Do not exceed 48 hours.
How to prevent turkey skin from burning?
If the skin starts to brown too quickly, loosely tent the affected areas with aluminum foil during the roasting process. Ensure your oven temperature is accurate.
What is the best way to carve a turkey?
After resting, remove the legs and wings first. Then, slice the breast meat away from the bone. Use a sharp knife and a carving fork to steady the bird.
Can I use turkey thighs instead of a whole turkey?
While this recipe is designed for a whole turkey, you could adapt it for turkey thighs. Adjust roasting time significantly, as thighs cook much faster. Ensure they reach an internal temperature of 165°F (74°C).
What is the difference between wet and dry brining?
Wet brining involves submerging the turkey in a saltwater solution, which adds moisture but can make skin less crisp. Dry brining uses a salt rub and air exposure, promoting crispier skin and deeper seasoning penetration.
Can I add butter to the dry rub?
While this recipe doesn’t call for butter in the dry rub, you could mix softened butter with the seasonings and rub it under the skin for added moisture and flavor, but be aware it might affect skin crispiness.
What kind of wine is best for roasting turkey?
A dry white wine like Sauvignon Blanc or Pinot Grigio is excellent for deglazing the pan and adding subtle flavor to the gravy. A splash of brandy can also add richness.
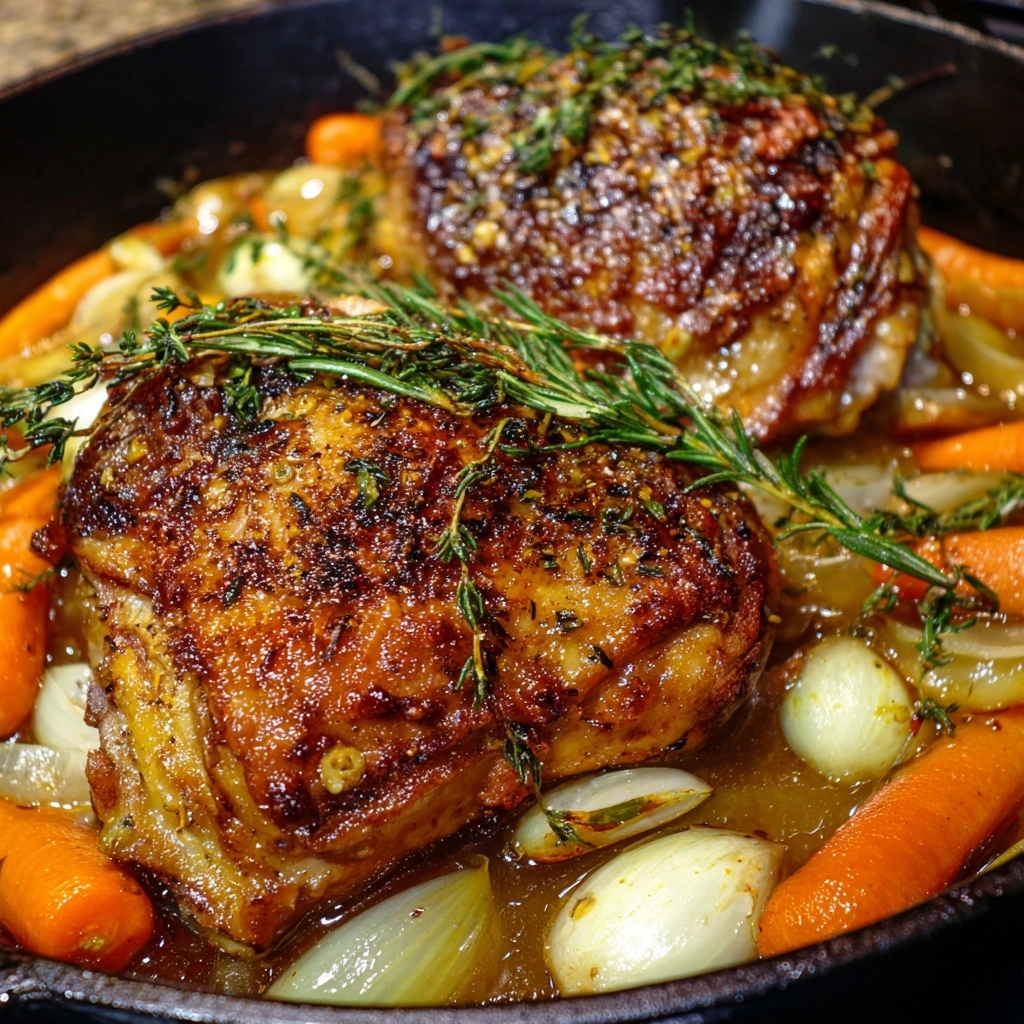
Spiced Orange Rosemary Glazed Turkey Thighs
Ingredients
Equipment
Method
- Remove the turkey from its packaging and place it on a rack set inside a roasting pan. Discard or reserve the neck and giblets for stock/gravy.
- Pat the entire turkey thoroughly dry, inside and out, with paper towels. This is essential for achieving crispy skin.
- In a small bowl, combine the sea salt, orange zest, brown sugar, minced rosemary, thyme leaves, and black pepper. Rub about 1/4 of the mixture all over the back of the turkey. Flip and rub another 1/4 into the cavity. Press the remaining rub all over the sides, breast, and thighs. Scoop up any fallen rub and reapply.
- Place the seasoned turkey, uncovered, in the refrigerator for at least 12, and preferably 24 hours. This dry brine allows the salt to penetrate and tenderize the meat while drying out the skin.
- Remove the turkey from the refrigerator and let it sit on the counter for 1 hour to come to room temperature.
- Set your oven to 450°F (230°C) and position a baking rack in the lower third of the oven.
- Remove the rack from the roasting pan. Set the turkey on a rimmed baking sheet. Thoroughly clean and dry the roasting pan. Overnight drippings can make gravy too salty.
- Add the quartered onion, halved garlic heads, carrot segments, and celery segments to the clean, dry roasting pan. Place the turkey back into the pan, breast-side up. Stuff the cavity with a mix of onions and quartered oranges. Add remaining onion quarters and orange wedges to the pan bottom. Truss the turkey by tying the wings close to the body with cotton twine and tying the drumsticks together. Brush the entire turkey with olive oil. Pour the white wine into the bottom of the roasting pan.
- Roast at 450°F (230°C) for 20-40 minutes, until the skin is nicely golden brown. Reduce the oven temperature to 350°F (175°C).
- Cook until the internal temperature reaches 165°F (74°C) when measured in the thickest part of the thigh (avoiding the bone) and the thickest part of the breast. This typically takes 3-4 hours total. Check the temperature every 30 minutes after the first 2 hours. If the breast or wings brown too quickly, loosely tent them with aluminum foil. Do not baste; the dry skin will crisp beautifully on its own.
- Once the target temperature is reached, transfer the turkey to a carving board, tent loosely with foil, and let it rest for 30 minutes. This allows the juices to redistribute, ensuring moist meat.
- While the turkey rests, place the roasting pan over 1-2 stovetop burners on medium heat. Use a slotted spoon to remove the aromatics and vegetables. Whisk the flour into the pan drippings until smooth. Cook for a minute, then slowly whisk in the turkey or chicken stock, adding it in stages to create a smooth, thick gravy. Continue cooking and whisking until the gravy reaches your desired consistency. Adjust heat as needed. Transfer to a smaller saucepan to keep warm over low heat.
- Remove the trussing twine, carve the turkey, and serve immediately with the warm gravy.